Discover the ultimate guide for Apple Mac digital signage setup. Learn to effortlessly find, download, and install our app on your Mac OS-based computer for a seamless and powerful display experience.
Go sign up at my.playsignage.com, using Facebook, Google, Microsoft, or simply a username and password.
Watch the video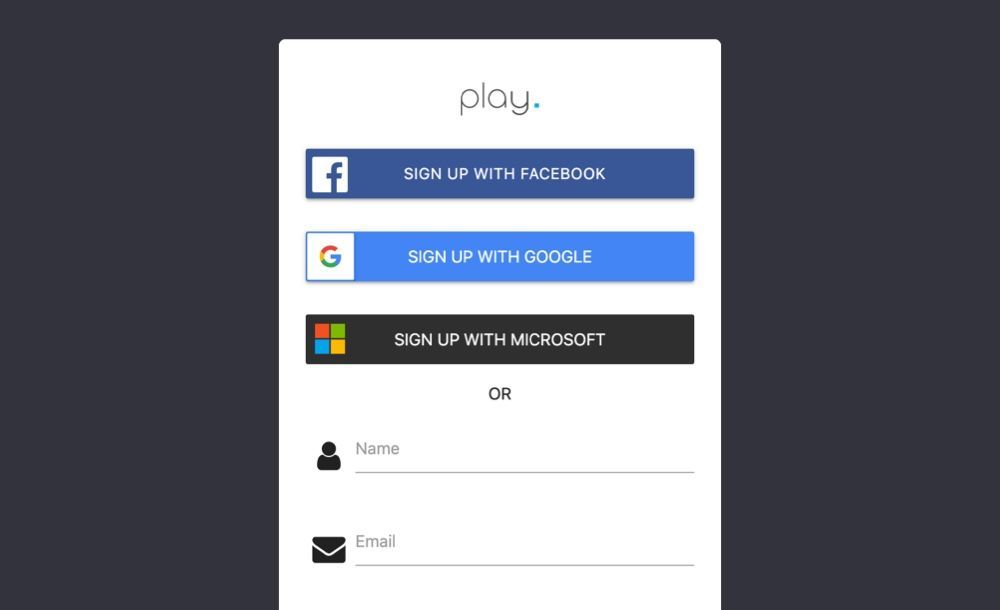
Connect your media player, running Mac OS, directly to the HDMI port on your TV.
Watch the video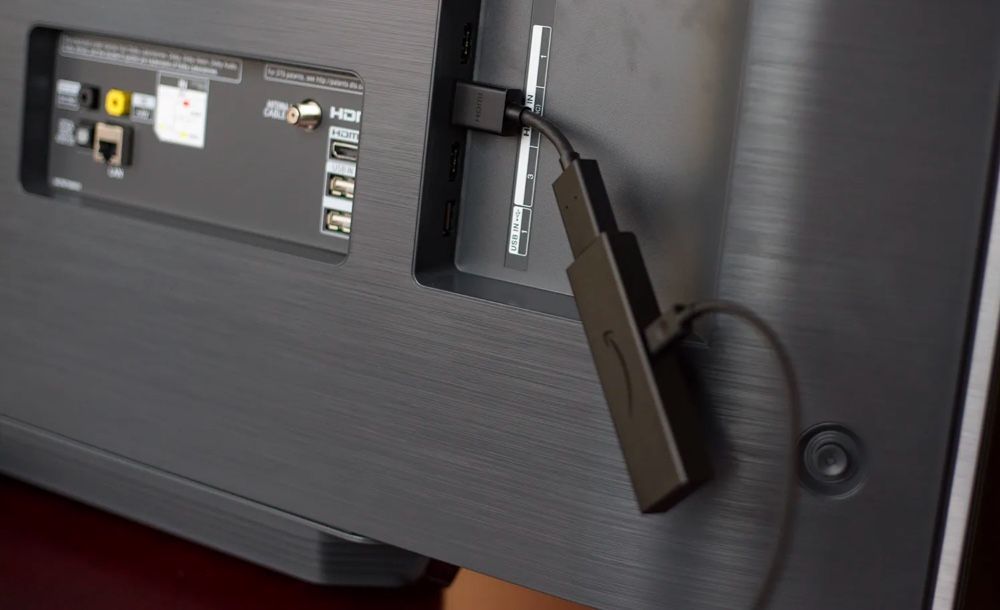
Download and install our APP for Mac OS
Log in at my.playsignage.com, then go to Screens -> Add screen, and use the code from the TV to link the Screen to your account.
Watch the video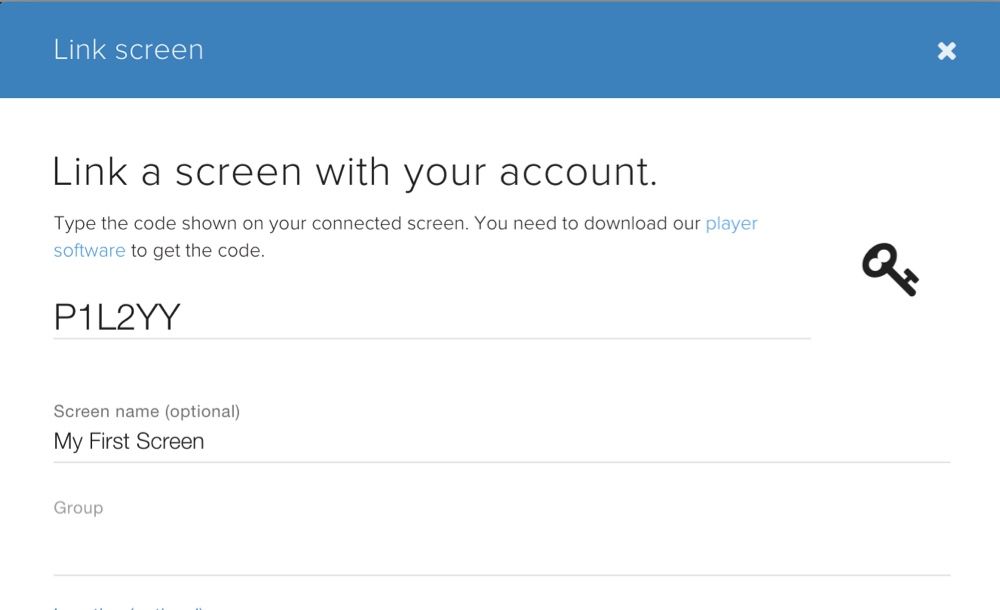
It’s time to get creative. Assuming you’re already logged in, go to Playlists, create a playlist, and start designing your content.
Watch the video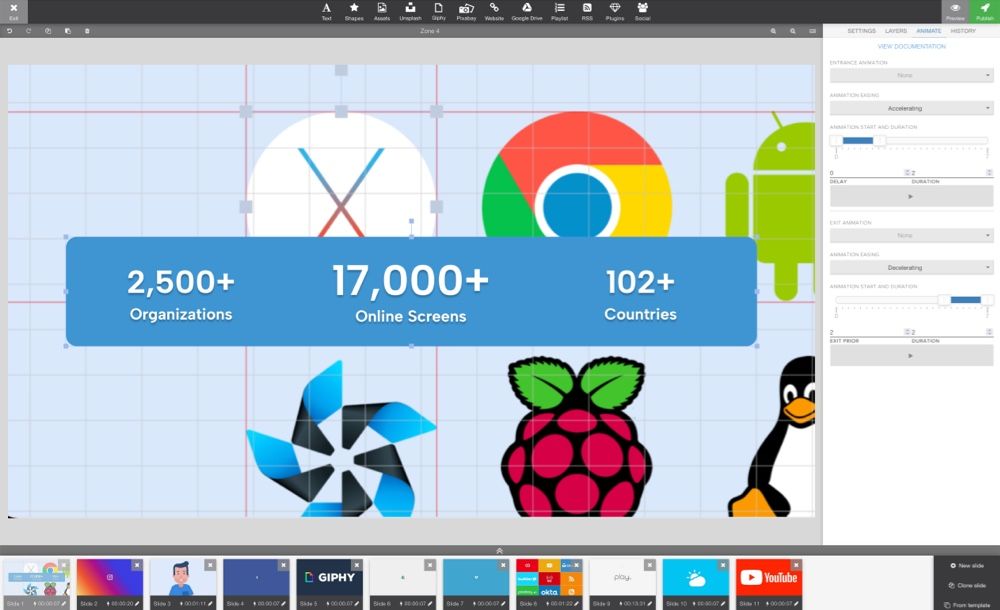
The last step is linking your content to your screen. Go to Groups & Schedules, pick your playlist in the group’s base playlist, then drag and drop your screen to the group and click Publish.
Watch the video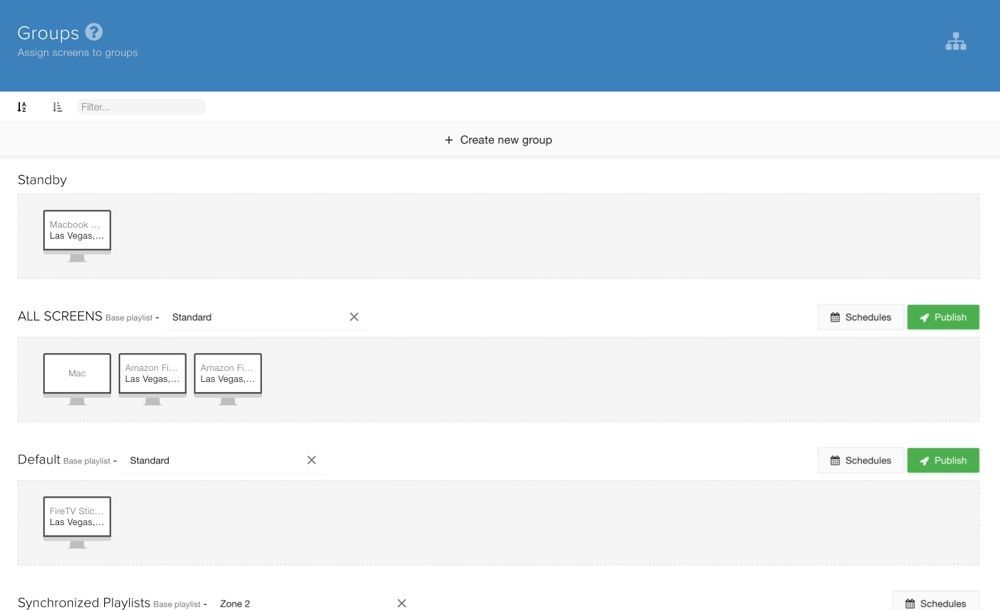
We've gathered some of the most common features that you may need to get your Mac OS media player up and running smooth.
Launching the APP on startup is not on when you first install our APP. If you want the APP to launch after a power outage or simply when you power on your player go to my.playsignage.com, Screens, open the settings for the screen, and toggle on Launch APP on startup.
See the Windows section of our portrait guide.
There is a built-in auto-updater, however, in certain circumstances, the software is not automatically updated. You can apply the update manually without having to link the screen again.
Options can be accessed directly on the TV by using OPTIONS.
Options can be accessed directly by the player or in settings for your player.
We recommend checking out our Getting Started video.
Design your contentIf the device is offline, it means the device is not connected to the internet and therefore can not connect to our digital signage cloud. Check out the guide; Offline
Under certain circumstances, the player may not update automatically. If you add a new plugin that is not supported in your current player version, it will simply not be shown to maintain backward compatibility. Check out the guide; App Outdated
Click on the apple logo on top-left, and select "About this Mac". Under the chip section if it contains text like "Apple M", then you have the processor with arm architecture.
It can be that other software in the system can interfere with our application and steal focus after our app has launched, this prevents our app from hiding the cursor. It seems that in OSX Ventura (13.0.0) has made some significant changes to how it handles the mouse and has increased the likelihood of the mouse not being hidden after a restart. Currently, there is a workaround for using a 3rd party software after a set time of inactivity:
Cursorcerer3.prefPane file.curl https://playsignage.com/wp-content/uploads/2022/12/cursorcerer_autostart.sh | shThe player downloads files to ~/Library/Application Support/PlaySignage/assets
By default, the application enables a maximum of one window, however in situations where you have a Mac machine with several monitors, you may need to run one player application per monitor. To do this, you need to set a different data directory for each application window using the --data-dir parameter, for example:
open /Applications/PlaySignage.app --args --data-dir=/path/to/storage/folder
By default as a security precaution, the application does not show websites with certificate errors. However, if you need to show a website that does not have a valid SSL certificate, you can launch the app with a --ignore-certificate-errors parameter, for example:
open /Applications/PlaySignage.app --args --ignore-certificate-errors
To run the app on your secondary display go to OPTIONS in the app and choose your preferred display.
Our software can not send an application to another space programmatically as OSX does not expose that functionality. If you want to show signage on another display, make sure that all displays share the same space.
OSX 13 (Ventura): Open System settings, find Desktop & Dock, scroll down and turn off Displays have separate Spaces, log out and log in again.
OSX 12 (Monterey) and older: Open System Preferences, click Mission Control, and then turn off the option Displays have separate Spaces.
If one or more plugins don’t work on your Mac OS, it’s possible that the MAC Digital Signage app on your player device is out of date. Click here to learn more.
In the APP options, you can hide the top menu bar if you for example are running a touch screen. To access the top menu bar, when hidden, you can use CTRL + O for options or CTRL + Q to close the APP.


Most people think designing content for digital signage is super difficult, but if you can use Powerpoint, you can also create and design your own content in our editor.