Raspberry PI
Let’s get you started with your Raspberry PI media player.
Streamline your Play Digital Signage setup with our optimized Raspberry Pi digital signage image (Models 3, 4, and 5). Enhance power efficiency by configuring HDMI-CEC support for automated nightly TV shutdown. Elevate your signage experience effortlessly.
Create Your User
Go sign up at my.playsignage.com, using Facebook, Google, Microsoft, or simply a username and password.
Watch the video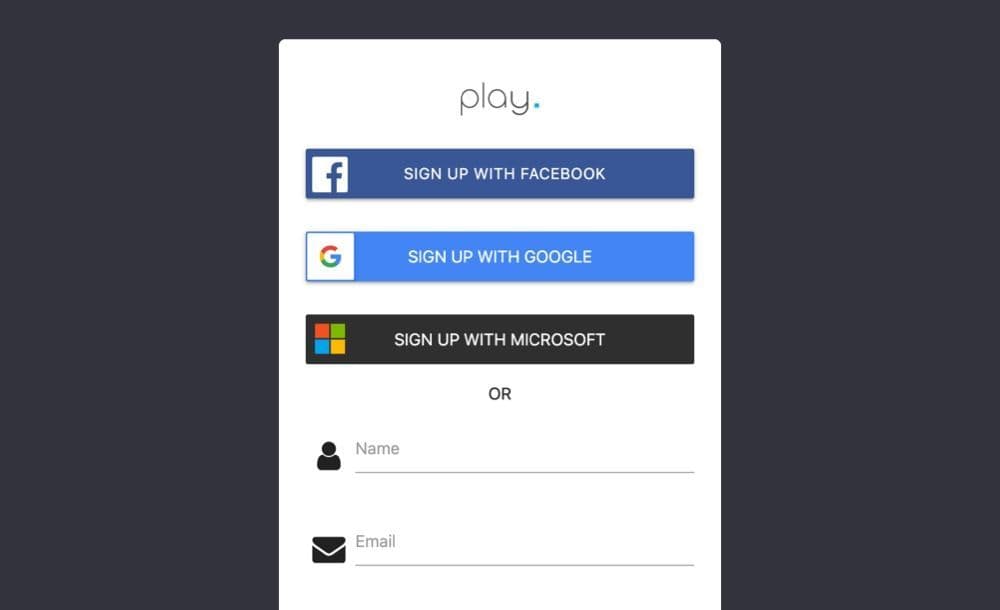
Download the APP
Download and install our APP on your Raspberry PI - Find the image further down in this article.
Watch the video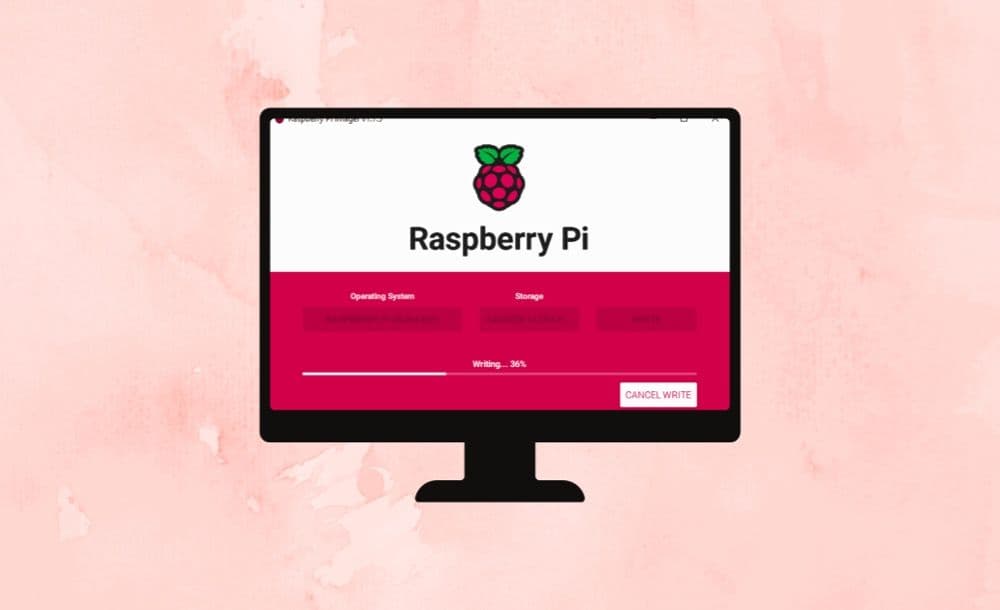
Link the Screen
Log in at my.playsignage.com, then go to Screens -> Add screen, and use the code from the TV to link the Screen to your account.
Watch the video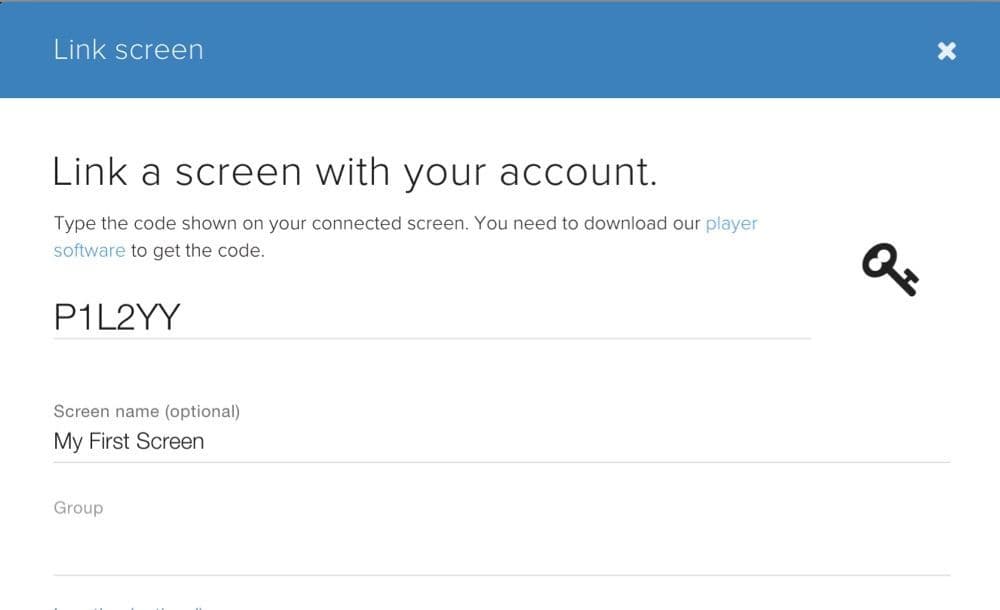
Design your Content
It’s time to get creative. Assuming you’re already logged in, go to Playlists, create a playlist, and start designing your content.
Watch the video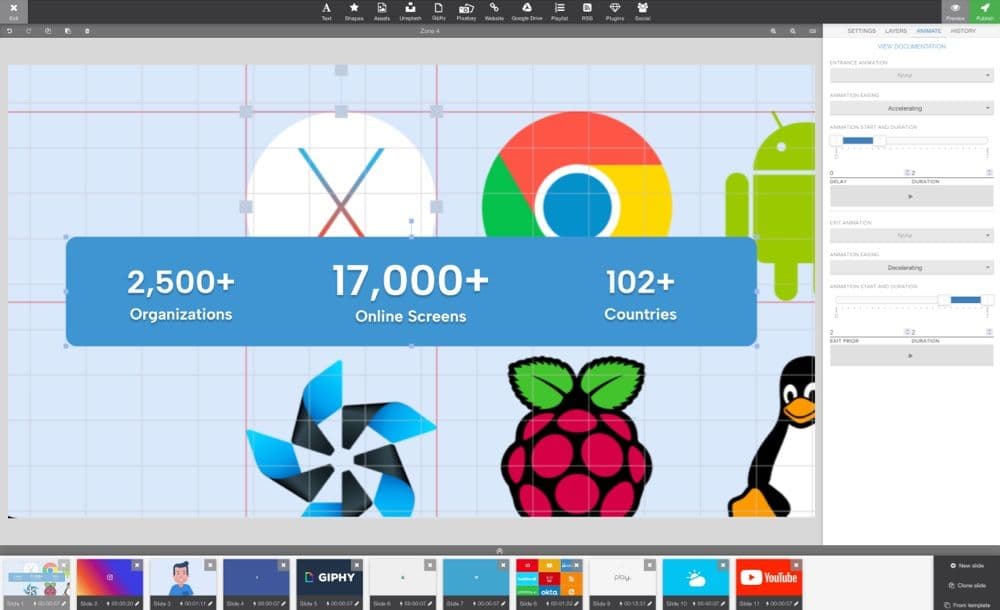
Link your Playlist
The last step is linking your content to your screen. Go to Groups & Schedules, pick your playlist in the group’s base playlist, then drag and drop your screen to the group and click Publish.
Watch the video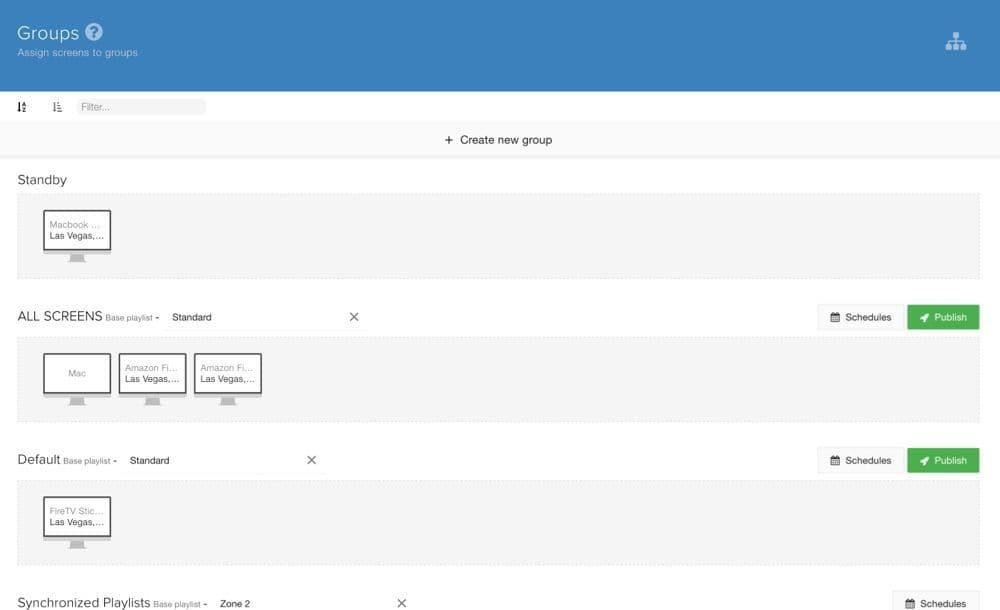
Stuff you should know
We've gathered some of the most common features that you may need to get your Raspberry PI up and running smooth.
What we’ve done
- Based on Raspberry PI OS 64bit.
- Build our app to start as a system service with the ability to switch into kiosk mode without any desktop interface.
- Configured the firewall to block all incoming requests.
- Disabled screen saver.
- Configured the mouse and taskbar to auto-hide
- Installed player software (If you only want player software, you can download the latest ARM64 AppImage).
- Installed cec-utils package for HDMI-CEC support
Raspberry PI 5 & 4 installation guide (kiosk mode available)
- Download the image from here. (Based on Debian 12 – bookworm, kernel 6.6.74 imaged on 5. March 2025)
- Unpack the zip archive.
- Write the .img file to the SD card using etcher.
- Insert SD card to Raspberry and power on.
- NB! During the first boot, the file system will be expanded, and the device will reboot during that process.
- Once the device starts up, it will launch our app. Press "Exit" in the top-right corner
- Connect to the Internet (top-right corner, a toolbar will appear)
- Open Menu (top-left corner) -> Preferences -> Raspberry PI Configuration.
- System tab: default password is raspberry, we recommend changing it!
- Localization tab: set the correct locale and time zone.
- Launch the player application from the desktop.
Raspberry PI 3 installation guide
- NB! Raspberry 3 runs our app quite slow, but it can be used for simple content.
- Download the image from here. (Based on Debian 12 – bookworm, kernel 6.1.0 imaged on 24. July 2024)
- Unpack the zip archive.
- Write the .img file to the SD card using etcher.
- Insert the SD card and turn the device on.
- NB! During the first boot, the file system will be expanded, and the device will reboot during that process.
- Once the device starts up, it will launch our app. Press "Exit" in the top-right corner
- Connect to the Internet (top-right corner, a toolbar will appear)
- Open Menu (top-left corner) -> Preferences -> Raspberry PI Configuration.
- System tab: default password is raspberry, we recommend changing it!
- Localization tab: set the correct locale and time zone.
- Launch the player application from the desktop.
In our tests, the device heats up quite fast, especially in an enclosure. When the device runs hot, it can damage the components and will cause performance to degrade. We recommend installing a heat sink on the chip, you can get one on eBay or a nearby electronics equipment store.
If you are not using the official power supply, make sure that the adapter is powerful enough:
- At least 2 amp for model 3 (ideally 2.5 amperes) devices
- At least 3 amp for model 4 devices
Raspberry Pi is likely the most affordable option to run our players on open-source software (Linux is also available). However, being a low-end device, it has certain drawbacks:
- Most slide transition effects lag, so we don’t recommend adding them.
- Element animations lag; however, they are meant for more powerful players, to begin with.
- The SD card is prone to wear out; unlike devices with built-in storage, the SD card has limited write cycles it can perform. We recommend getting a high-quality and high-speed SD card to minimize the issues down the road.
While both models 4 and 5 advertise support for 4K, the ability to play 4K video is limited to certain codecs and video players. We tested several video players and found VLC to have the best codec support for 4K, however even with VLC the support was very limited (mostly H265 less than 30 fps). However we found VLC not being stable player for repeated playbacks, issues occurred when the player started, but the video was not visible and also VLC crashed the entire desktop session. Therefore we currently can not provide a smooth 4K playback on Raspberry PI and recommend running the devices in 1920×1080 resolution.
Options & FAQ
Options can be accessed directly on the TV by using OPTIONS.
Options can be accessed directly by the player or in settings for your player.
- Launch player on startup - Toggle this ON to make sure our APP starts when your player starts up, for example after a power outage.
- Always on top - Tells the operating system to keep our APP window above other windows. This prevents popups or notifications from showing above.
- Show top menu bar - Toggle this ON if you want the top bar to appear when moving the mouse or using the remote for your player. Toggle this OFF if you want a kiosk experience where users can't exit the app by clicking the exit button on the top menu bar. You can still access the menu with the "Ctrl + o" command.
- Optimize for touchscreen - Toggle this ON if you are planning on using our APP on a touchscreen. This setting will make small adjustments to how our APP works in conjunction with a touchscreen.
- Analytics - Toggle this ON if you need analytic data from this particular player. Read more about Analytics
- Display Orientation - This option should only be used if your player operating system does not support changing the orientation as we recommend the adjustment on an operating system level instead.. You have the option of portrait (Clockwise) and portrait (Counter-clockwise).
- UserAgent - UserAgent is a piece of text that browsers use to identify itself to the web server. Certain websites will render a mobile view if they detect Android userAgent, although the site is displayed on a big screen. With this option, you can work around this issue and spoof a desktop computer's UserAgent. The UserAgent lets you pick Default, Mobile, Desktop, or Custom.
- Reload player every day at - It is good practice to clear the cache on the player once every 24 hours. Here you can set a time that is not inconvenient, for example at night when no one is watching your TV. Rooted devices will be rebooted, unrooted devices will simply restart our app.
- Display on / off – Turn the display on and off based on a schedule. (Learn more)
- Tags - If you are using tags they will be listed here. You also can find and add a tag.
- Clear cache - In case you need to clear the cache manually you can do that here. For example, if you are changing your content continually and you experience something not working as expected, clearing the cache should help as it removes any old data stored on the players' storage.
- Transfer Screen - Move screens between teams without deleting or re-linking—Transfer Screen makes screen management simple and efficient. Learn more
- Reload - Reloading your player is similar to clearing the cache. In addition, reloading will close and start the APP.
- Status - Status tells you if the APP is connected to the cloud. Green means you are connected and red means you are not connected. If you see a red status you should check the internet and wifi connection to your player.
- Device Time - The device time tells you the player's time and date. If the device time is wrong it will also be wrong in our APP and thus all time-related scheduling will be off, so make sure to correct the time on the player operating system if you are having problems.
- Resolution - The resolution is the resolution according to your player's operating system. If the operating system on the players tells us it's running HD, your content on the TVs will be optimized for HD. Please note that many devices that are advertised as 4K can only decode video in 4K but run apps in a lower resolution. This means you may see a lower resolution reported by our app, but any 4K video that you use will be still played as 4K. If you are seeing a lower resolution, you can install a 3rd party "resolution checker" app on the device to confirm the resolution from another app as well.
- Version - This is the version of our APP
- Screen ID - Also referred to as UID. The UID is the unique ID for your player.
- Disc Usage - Disc usage will tell you how much data has been used on the player's storage. We do not recommend more than max. 80% storage use.
- Android Settings - This is reserved for developers only
- Screen edges - In case you have a LED screen, video wall, or an older model TV you might have to adjust the edges so that they match your TV and the content.
- Browser - Here you can easily access the browser used by the APP to check content, connectivity, etc.
- Reset - If you need to unlink your player or perhaps link the player to another account you can use reset.
My device says it's offline
If the device is offline, it means the device is not connected to the internet and therefore can not connect to our digital signage cloud. Check out the guide; Offline
The resolution is incorrect.
Raspberry PI digital signage will try to automatically set the resolution; however, sometimes it fails to detect the most optimal resolution. You can manually set the resolution in Menu -> Preferences -> Display Settings.
If you can’t find the desired resolution option there, you will find more display configuration options in Menu -> Preferences -> Raspberry PI Configuration -> Display -> Resolution.
How can I put the TV on standby at night?
This functionality sends a command over an HDMI cable to the TV, telling it to go to standby and wake it up in the morning. Raspberry PI digital signage will remain on through the night.
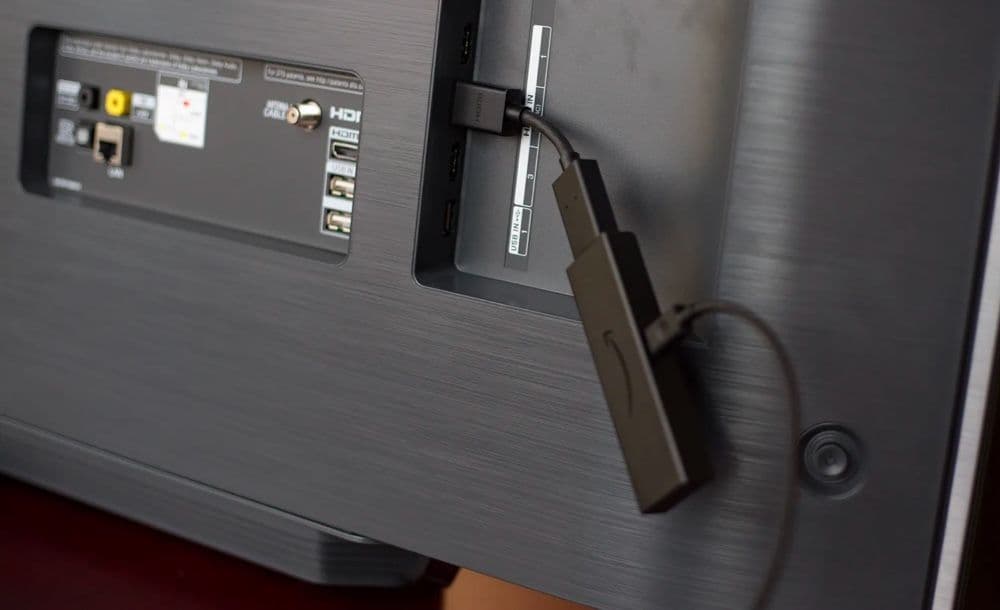
NB! Raspberry PI 4 and 5 have two micro-HDMI ports; the HDMI-CEC commands are only sent over the first port (the port being next to the USB-C power). If you use the other port, the commands will not work!If you downloaded our Raspberry PI image after April 2021, then all the required packages are included in the image, and you can skip the first step of installing cec-utils.
- Install
cec-utilssoftware package:sudo apt-get update && sudo apt-get install cec-utils(Ubuntu) - Make sure that CEC is enabled in your TV. Different manufacturers have different names for the same functionality.
- Tizen: Menu -> System -> General -> Anynet+
- Philips: Home -> Settings -> TV Settings -> Easylink
- LG: Settings -> All Settings -> General -> SIMPLINK
- SONY: Options (On the remote) > Settings > Inputs > External inputs > BRAVIA Sync settings
- Other brands: Most modern TVs have this functionality, try to find how your TV’s manufacturer has named it and find it in the settings.
Now that the software is installed and CEC is enabled on the TV, you can test if the TV is detected. Run the following command in the terminal:
echo 'scan' | cec-client -s -d 1
The scan takes about 10 seconds, and it outputs a list of devices. If you see your TV listed (usually under device #0), then the connection works! You will also see the “Pulse Eight” device, don’t mind it, it’s a virtual interface.
You can also use our API function to trigger the TV on or off, this can be combined with a scheduled webhook service, such as https://crontap.com/
The app crashes on startup
If you installed the operating system yourself and are trying to launch the downloaded .AppImage file, and it does not start up; it’s likely because some libraries are missing. The first thing to get more info is to try and launch the .AppImage from the command line:
./PlaySignage*.AppImage
The terminal will output the error, often hinting at the problem.
./PlaySignage*.AppImage --disable-seccomp-filter-sandbox
Why can’t I use 4K resolution?
There are some known hardware acceleration issues with video core drivers and HTML5 canvas support which we are built on. We’ve disabled the driver in favor of stability, however, it’s also possible to run Raspbian with the driver and disable hardware acceleration:
- Enable VideoCore driver in /boot/config.txt file, uncomment the following line
dtoverlay=vc4-fkms-v3d - Run PlaySignage application with disabled hardware acceleration:
./PlaySignage*.AppImage --disable-hardware-acceleration
Intranet website with a self-signed SSL certificate is not showing?
By default as a security precaution, the application does not show websites with certificate errors. However, if you need to show a website that does not have a valid SSL certificate, you can launch the app with a --ignore-certificate-errors parameter, for example:
~/Downloads/PlaySignage.AppImage --ignore-certificate-errors
How can I enable ssh?
We’ve disabled SSH access for obvious security reasons when distributing an image that has a default password. If you do want to enable ssh for remote maintenance, here’s how:
- execute
passwdcommand to change the password – the default password is ‘_raspberry_‘ and the whole world knows it - Enable port 22 in the firewall:
sudo ufw allow ssh - Enable SSH service:
sudo systemctl enable ssh - Start the SSH service:
sudo systemctl start ssh
How do I access OPTIONS if I disabled the top menu bar?
In the APP options, you can hide the top menu bar if you for example are running a touch screen. To access the top menu bar, when hidden, you can use CTRL + O for options or CTRL + Q to close the APP.
Can I turn the display on and off?
Yes, check out this guide; Turn your TV on and off


Get started designing your content
Most people think designing content for digital signage is super difficult, but if you can use Powerpoint, you can also create and design your own content in our editor.