Linux
Let’s get you started with your Linux media player
Explore our passion for Linux digital signage at Play Digital Signage. Easily install our AppImage format for seamless compatibility across various Linux distributions. Optimize power usage with scheduled TV shutdown for extended life via HDMI-CEC, enhancing your signage experience.
Create Your User
Go sign up at my.playsignage.com, using Facebook, Google, Microsoft, or simply a username and password.
Watch the video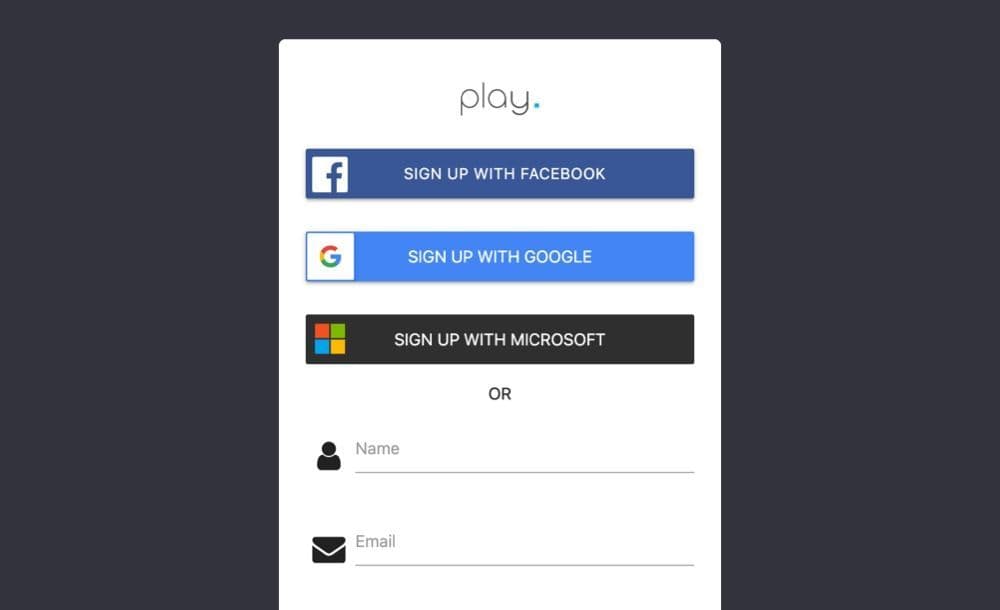
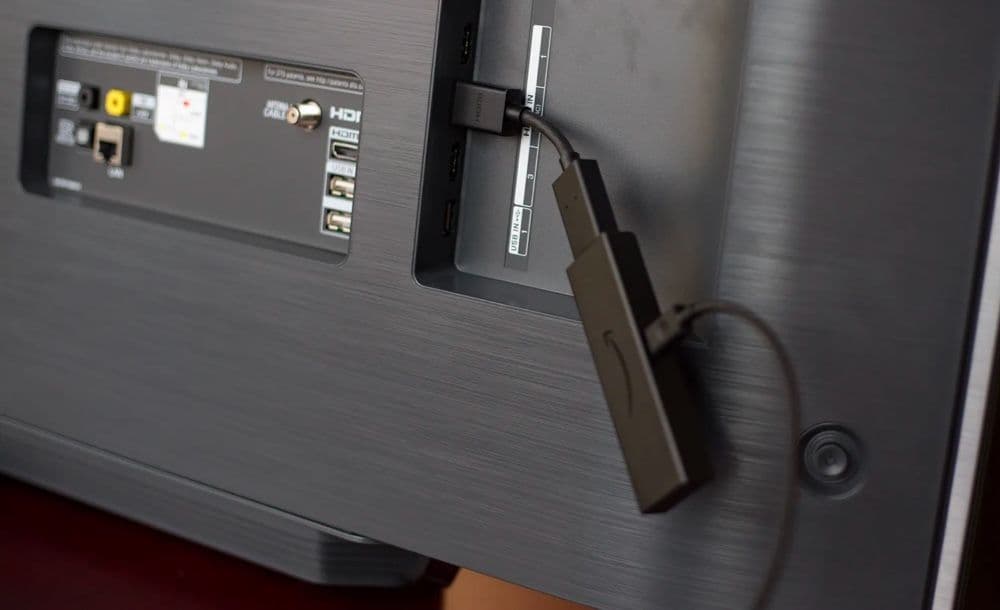
Download the APP
Linux x64: Click here to download our APP.
Linux ARM 32bit: Click here for our armv7l APP.
Linux ARM 64bit: Click here for our arm64 APP.

Link the Screen
Log in at my.playsignage.com, then go to Screens -> Add screen, and use the code from the TV to link the Screen to your account
Watch the video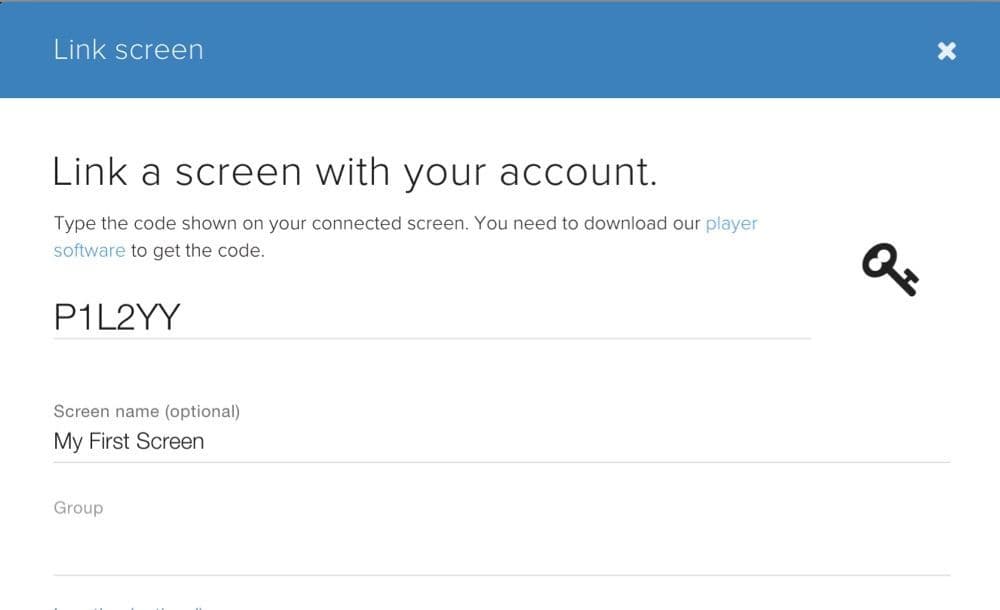
Design your Content
It’s time to get creative. Assuming you’re already logged in, go to Playlists, create a playlist, and start designing your content.
Watch the video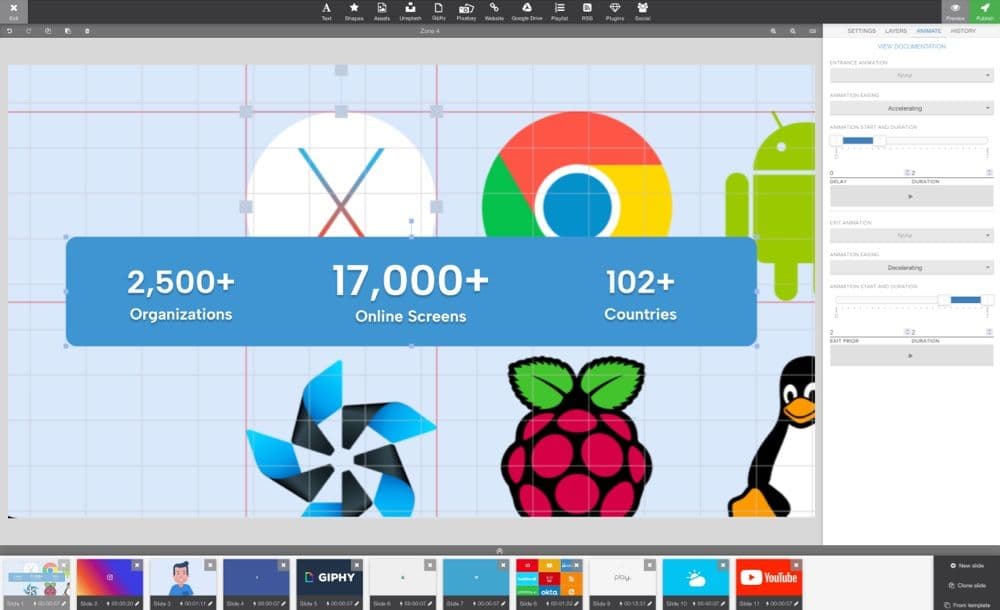
Link your Playlist
The last step is linking your content to your screen. Go to Groups & Schedules, pick your playlist in the group’s base playlist, then drag and drop your screen to the group and click Publish.
Watch the video
Stuff you should know
We've gathered some of the most common features that you may need to get your Linux media player up and running smooth.
Starting in 2018, Linux desktop environments started including an external program to manage and better integrate AppImages. This program is wonderful for regular users; however, for an unattended digital signage setup, it adds a layer of software that is beyond our control. We recommend uninstalling appimagelauncher before proceeding. On Debian-based systems, you can remove it with the following command:
sudo apt-get remove --purge appimagelauncherBy default, Linux does not give execute permissions to files downloaded from the Internet; you need to grant the permission. Most file managers are able to do it by right-clicking on the file, going to Properties, and finding either a checkbox for making it executable or selecting from the drop-down Execute “Anyone”. This process varies a little depending on which file manager is your Linux distribution uses.
Launching the APP on startup is not on when you first install our APP. If you want the APP to launch after a power outage or simply when you power on the player, go to my.playsignage.com, Screens, open the settings for the screen, and toggle on Launch APP on startup.
Our software uses cec-utils software package to issue commands over HDMI to your TV, if you downloaded our Raspberry PI image, then the package is already pre-installed. The second key component is
- Install
cec-utilssoftware package:sudo apt-get update && sudo apt-get install cec-utils(Ubuntu) - Make sure that CEC is enabled in your TV. Different manufacturers have different names for the same functionality.
- Tizen: Menu -> System -> General -> Anynet+
- Philips: Home -> Settings -> TV Settings -> Easylink
- LG: Settings -> All Settings -> General -> SIMPLINK
- SONY: Options (On the remote) -> Settings -> Inputs -> External inputs -> BRAVIA Sync settings
- Hitachi: Menu -> Settings -> more - CEC/HDMI-CEC
- Other brands: Most modern TVs have this functionality, try to find how your TV’s manufacturer has named it and find it in the settings.
Now that the software is installed and CEC is enabled in the TV, you can test if the TV is detected. Run the following command in the terminal:
echo 'scan' | cec-client -s -d 1
The scan takes about 10 seconds, and it outputs a list of devices. If you see your TV listed (usually under device #0), then the connection works! You may also see more than one device listed, which is okay, as they’re virtual interfaces.
You can also use our API function to trigger the TV on or off; this can be combined with a scheduled webhook service, such as https://crontap.com/
Options & FAQ
Options can be accessed directly on the TV by using OPTIONS.
Options can be accessed directly by the player or in settings for your player.
- Launch player on startup - Toggle this ON to make sure our APP starts when your player starts up, for example, after a power outage.
- Always on top - Tells the operating system to keep our APP window above other windows. This prevents pop-ups or notifications from showing above.
- Show top menu bar - Toggle this ON if you want the top bar to appear when moving the mouse or using the remote for your player. Toggle this OFF if you want a kiosk experience where users can't exit the app by clicking the exit button on the top menu bar. You can still access the menu with "Ctrl + o" command.
- Optimize for touchscreen - Toggle this ON if you are planning on using our APP on a touchscreen. This setting will make small adjustments to how our APP works in conjunction with a touchscreen.
- Analytics - Toggle this ON if you need analytic data from this particular player. Read more about Analytics
- Display Orientation - This option should only be used if your player's operating system does not support changing the orientation, as we recommend the adjustment on an operating system level instead.. You have the option of portrait (Clockwise) and portrait (counterclockwise).
- UserAgent - UserAgent is a piece of text that browsers use to identify itself to the web server. Certain websites will render a mobile view if they detect Android userAgent, although the site is displayed on a big screen. With this option, you can work around this issue and spoof a desktop computer's UserAgent. The UserAgent lets you pick Default, Mobile, Desktop, or Custom.
- Reload player every day at - It is good practice to clear the cache on the player once every 24 hours. Here you can set a time that is not inconvenient, for example, at night when no one is watching your TV. Rooted devices will be rebooted, and unrooted devices will simply restart our app.
- Display on / off – Turn the display on and off based on a schedule. (Learn more)
- Tags - If you are using tags, they will be listed here. You can also find and add a tag.
- Clear cache - In case you need to clear the cache manually, you can do that here. For example, if you are changing your content continually and you experience something not working as expected, clearing the cache should help, as it removes any old data stored on the players' storage.
- Transfer Screen - Move screens between teams without deleting or re-linking—Transfer Screen makes screen management simple and efficient. Learn more
- Reload - Reloading your player is similar to clearing the cache. In addition, reloading will close and start the APP.
- Status - Status tells you if the APP is connected to the cloud. Green means you are connected and red means you are not connected. If you see a red status, you should check the internet and wifi connection to your player.
- Device Time - The device time tells you the player's time and date. If the device time is wrong, it will also be wrong in our app, and thus all time-related scheduling will be off, so make sure to correct the time on the player operating system if you are having problems.
- Resolution - The resolution is the resolution according to your player's operating system. If the operating system on the players tells us it's running HD, your content on the TVs will be optimized for HD. Please note that many devices that are advertised as 4K can only decode video in 4K but run apps in a lower resolution. This means you may see a lower resolution reported by our app, but any 4K video that you use will still be played as 4K. If you are seeing a lower resolution, you can install a 3rd party "resolution checker" app on the device to confirm the resolution from another app as well.
- Version - This is the version of our APP
- Screen ID - Also referred to as UID. The UID is the unique ID for your player.
- Disc Usage - Disc usage will tell you how much data has been used on the player's storage. We do not recommend more than max. 80% storage use.
- Android Settings - This is reserved for developers only
- Screen edges - In case you have an LED screen, a video wall, or an older model TV, you might have to adjust the edges so that they match your TV and the content.
- Browser - Here you can easily access the browser used by the APP to check content, connectivity, etc.
- Reset - If you need to unlink your player or perhaps link the player to another account, you can use reset.
I got my screen linked. What's next?
We recommend checking out our Getting Started video.
Design your contentMy device says it's offline
If the device is offline, it means the device is not connected to the internet and therefore can not connect to our digital signage cloud. Check out the guide; Offline
App outdated?
Under certain circumstances, the player may not update automatically. If you add a new plugin that is not supported in your current player version, it will simply not be shown to maintain backward compatibility. Check out the guide; App Outdated
Where are the files stored?
The player saves files to ~/.config/PlaySignage/assets
Please note that the .config folder is not visible in Linux by default.
Can I run several instances of the application?
By default, the application enables a maximum of one window. In situations where you have a Linux machine with several monitors, you may need to run one player application per monitor. To do this, you need to set a different data directory for each application window using the --data-dir parameter, for example:
~/Downloads/PlaySignage.AppImage --data-dir=/home/playsignage/play-app2
The second instance, however, would still use the same autolaunch file on Linux. So don’t enable autostart on the second instance; instead, manually create the launch command. Make a copy of the ~/.config/autostart/PlaySignage.desktop file in the same folder, let’s call it PlaySignage2.desktop, then open up the file with a text editor, give it a different name in the name field, and also append the same –data-dir parameter to the Exec row.
Intranet website with a self-signed SSL certificate is not showing?
By default as a security precaution, the application does not show websites with certificate errors. However, if you need to show a website that does not have a valid SSL certificate, you can launch the app with a --ignore-certificate-errors parameter, for example:
~/Downloads/PlaySignage.AppImage --ignore-certificate-errors
The mouse cursor is visible after restart?
When running Linux digital signage, you can install a program to hide the cursor. By default, unclutter will hide the cursor if it’s not moved for 5 seconds.
- Ubuntu
sudo apt-get install unclutter - Arch
sudo pacman -Syu unclutter
After installing, you can test Unclutter by launching it in the terminal with unclutter the command. If it works for you, be sure to add it to startup programs!
How do I update Linux digital signage?
There is a built-in auto-updater; however, in certain circumstances, the software is not automatically updated. You can apply the update manually without having to link the screen again:
- Close the player application if it’s running.
- Download the latest version.
- Make the downloaded file executable (see step 3 above).
- Start the newly downloaded.AppImage file.
The plugins don’t work
If one or more plugins don’t work on your Linux digital signage, it’s possible that the PlaySignage app on your player device is out of date. Click here to learn more.
How do I access OPTIONS if I disabled the top menu bar?
In the APP options, you can hide the top menu bar if you for example are running a touch screen. To access the top menu bar, when hidden, you can use CTRL + O for options or CTRL + Q to close the APP.
I’m getting an error about the “SUID Sandbox helper binary”?
Our application creates a namespace sandbox, however on some Linux distributions, this option is disabled, there are 2 possible solutions:
- Enable apps to create a namespace sandbox:
sudo echo ‘kernel.unprivileged_userns_clone=1’ > /etc/sysctl.d/00-local-userns.conf - The second option is to disable the sandboxing and run our AppImage with
--no-sandboxflag
Can I turn the display on and off?
Yes, check out this guide; Turn your TV on and off


Get started designing your content
Most people think designing content for digital signage is super difficult, but if you can use Powerpoint, you can also create and design your own content in our editor.