Search Icon
User icon

Amazon Signage Stick

Let’s get you started with your Amazon Signage Stick

Unlike Amazon's Fire TV Stick for home entertainment, the Amazon Signage Stick is purpose-built for business. This dedicated digital signage media player transforms any TV into a dynamic display. Learn how to set up and manage your Signage Stick on this page.

If you were looking for Amazon FireTV Sticks and TV setup, please visit: Amazon FireOS

Back to SetupAmazon FireOS for Digital Signage
1
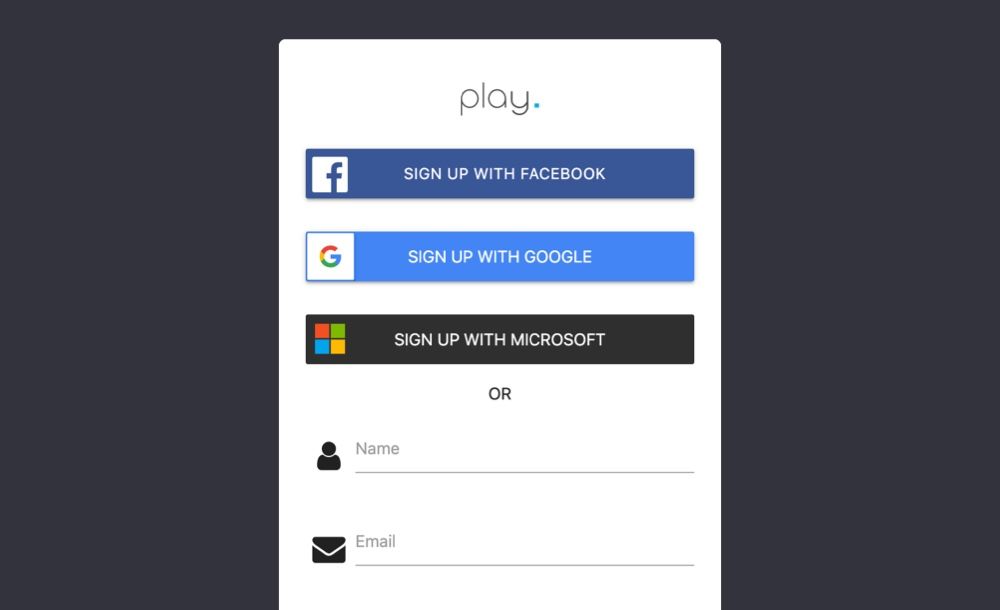
How to set up Amazon FireOS for Digital Signage
2
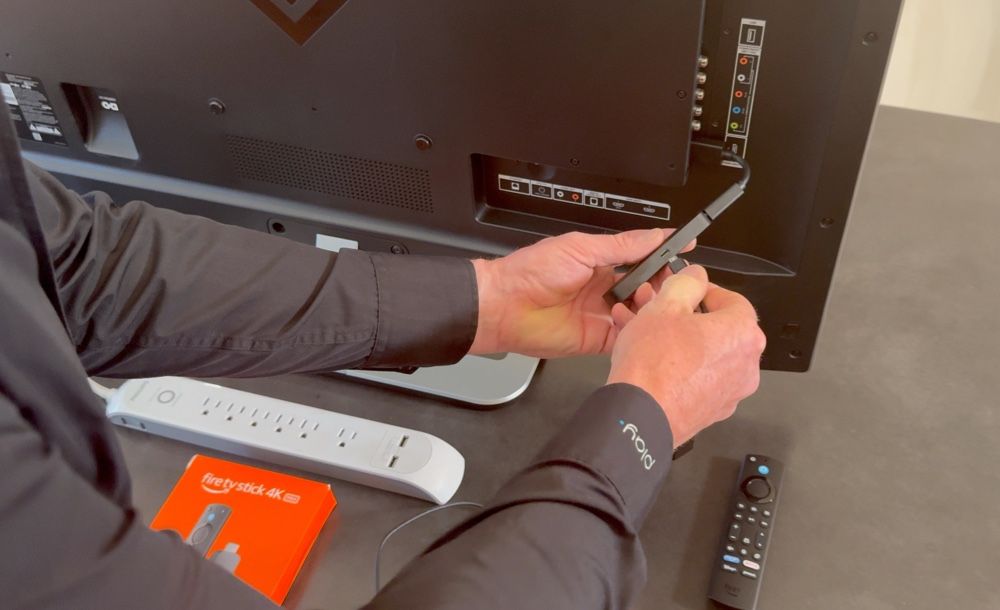
Amazon Signage Stick connected to a TV
3
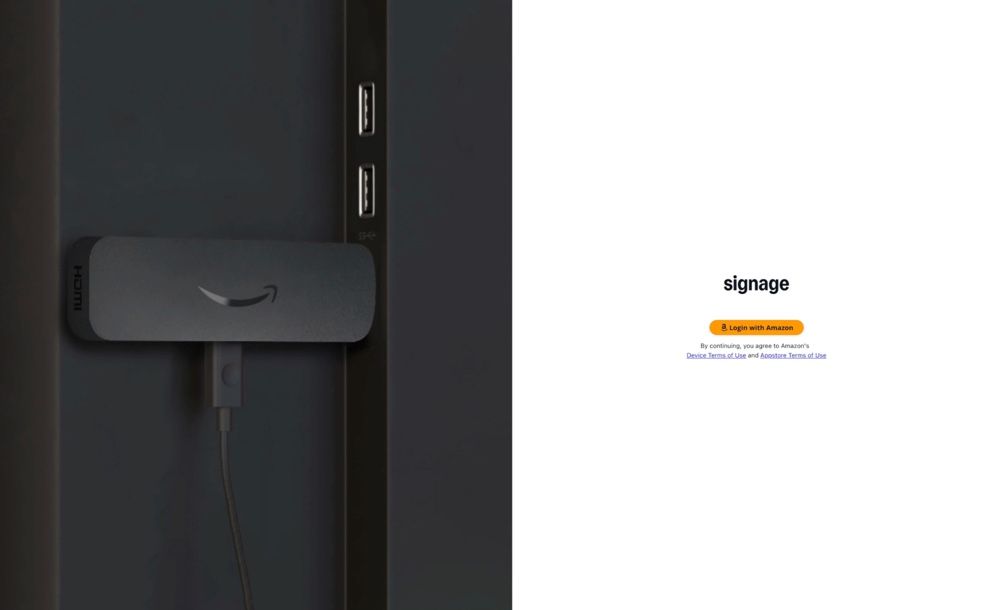
Amazon Signage Software
4
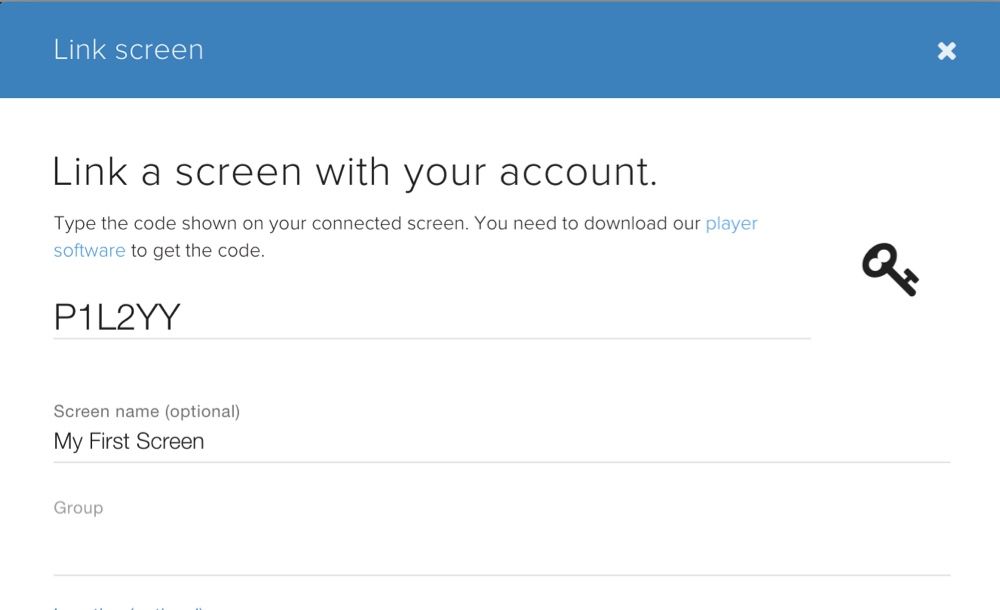
Link your screen with your account
5
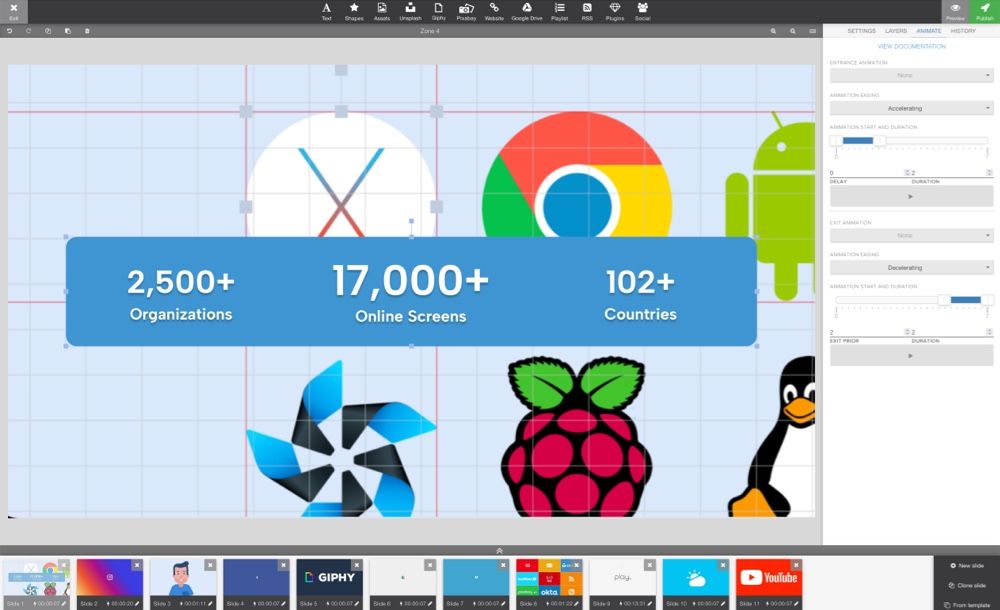
Design your content in Digital Signage
6
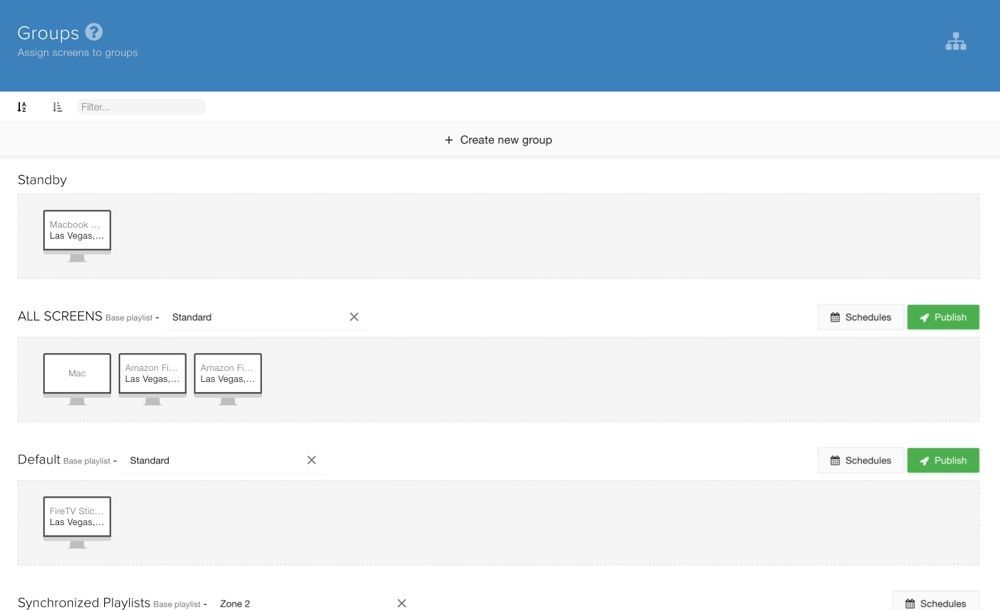
Link your playlist

Stuff you should know

Even though the Amazon Signage Stick works almost out of the box, we thought we'd gather some of the most common features for you here.

Pairing codes let you use your mobile phone or computer to quickly pair a Signage device to your team's account at signage.amazon.com

Be aware that you'll see two pairing codes, the first one for pairing your device to your Amazon account and a second pairing code to link the device to your account at my.playsignage.com

A pairing code is a unique code that is displayed on the connected display when the Amazon Signage Stick is first set up. You can set up a new Signage device by visiting the signage.amazon.com page. On this site you can:

For more information on how to set up your Signage device, go to Connect Your Signage Stick

The signage manager is a product of Amazon and is used to manage your devices centrally.

To login to your Signage Manager:

  1. Go to console.signage.amazon.com
  2. Select the Login with Amazon button. An Amazon-hosted sign-in screen will appear.
  3. Enter your user name and password for your Amazon or Amazon Business account.
    Note: You do not need to use the account used to purchase the devices.
    Tip: The first account used to set up devices will be the device owner, this account can invite others to their team to manage devices
  4. The first time you login the Signage Manager, you'll see a screen asking for your consent to share your name and email with the Signage Manager. This will not be shared outside of Amazon.
  5. If logging in for the first time, you'll be prompted to set up your first device. Otherwise, you'll be directed to your dashboard to view devices.

To start, have the following parts, accessories, and information ready:

  • The Amazon Signage Stick and in-box accessories
    • Amazon remote, power cable, power adapter, AAA batteries for the remote, and HDMI extender cable (optional)
  • A TV or display with an available HDMI port
    Note: your display must support HDCP to display protected content
  • An Amazon account, including your email address or phone number and password
  • A mobile device or computer connected to the internet
  • An internet connection, including your Wi-Fi name and password

For more information about your Amazon remote, visit [about your Signage Stick remote](https://support.signage.amazon.com/about_your_signage_stick _remote.html)

  1. Put the batteries into the remote.
  2. Connect the USB cable to the power adapter and the Stick.
  3. Plug the Stick into an available HDMI port on your TV. Use the HDMI extender cable if it's difficult to plug the Stick into the TV's HDMI port.
  4. Plug the power adapter into the wall. Avoid plugging the USB cable directly into the TV.
  5. Turn on your TV and switch to the correct HDMI input.
Tip: Use the remote that came with your TV to select the correct HDMI input.
  1. Follow the on-screen instructions to connect to Wi-Fi and download the latest software update.
  2. Complete the setup process on your mobile device or computer using the pairing code shown on your TV at https://console.signage.amazon.com/

Options & FAQ

Options can be accessed directly on the TV by using OPTIONS.

Options can be accessed directly by the player or in settings for your player.

Options from the screens page (https://my.playsignage.com/screens);

  • Set the name of your Signage Stick (Click the pencil)
  • Set the location of your Signage Stick (Click the pencil)
  • Assigned to group (Click to change the group)
  • Notes (Click the pencil)
  • Status (See if your media player is fully updated)
  • Screenshot
  • Publish
  • Settings

Options from the settings page;

  • Launch player on startup - Toggle this ON to make sure our APP starts when your player starts up, for example after a power outage.
  • Show top menu bar - Toggle this ON if you want the top bar to appear when moving the mouse or using the remote for your player. Toggle this OFF if you want a kiosk experience where users can't exit the app by clicking the exit button on the top menu bar. You can still access the menu with the "Ctrl + o" command.
  • Optimize for touchscreen - Toggle this ON if you are planning on using our APP on a touchscreen. This setting will make small adjustments to how our APP works in conjunction with a touchscreen.
  • Analytics - Toggle this ON if you need analytic data from this particular player. Read more about Analytics
  • Synchronize time 
  • Display Orientation - This option should only be used if your player operating system does not support changing the orientation as we recommend the adjustment on an operating system level instead.. You have the option of portrait (Clockwise) and portrait (Counter-clockwise).
  • Website rendering engine - Our app comes with a pre-packaged Chromium engine and by default the websites are rendered using the prepackaged browser, however, you can change this and use the system engine instead, and then websites will be rendered using the default browser that is configured as the web view engine in your Android device. The prepackaged browser works well for most users so there should not be a need to change it unless there are problems with specific website rendering.
  • MediaPlayer engine - Select which video player the device will use to play videos:
    • MediaPlayer - the default MediaPlayer built into the device. We default to MediaPlayer as in our experience it has better support across a variety of devices.
    • ExoPlayer - A video player built by Google, it promises better codec support and on some devices, it may work better, however on some devices it may not work at all.
  • Website plugin engine - Select how the player will render websites:
    • WebView - This option creates a new browser instance to render the website, using this option you can also use website scripting functionality, however zoom option works differently.
    • iframe - This option creates an iframe in the same browser process that our app is rendered in. Iframes do not support website scripting and are limited by other web security restrictions, such as X-Frame-Options where a website owner can prevent the website from being shown in an iframe. However, the iframe option performs better with the zoom option and adheres to scaling to the desktop version better than the WebView option.
  • UserAgent - UserAgent is a piece of text that browsers use to identify itself to the web server. Certain websites will render a mobile view if they detect Android userAgent, although the site is displayed on a big screen. With this option, you can work around this issue and spoof a desktop computer's UserAgent. The UserAgent lets you pick Default, Mobile, Desktop, or Custom.
  • Reload player every day at - It is good practice to clear the cache on the player once every 24 hours. Here you can set a time that is not inconvenient, for example at night when no one is watching your TVs. Rooted devices will be rebooted, unrooted devices will simply restart our app.
  • Tags - If you are using tags they will be listed here. You also can find and add a tag.
  • Clear cache - In case you need to clear the cache manually you can do that here. For example, if you are changing your content continually and you experience something not working as expected, clearing the cache should help as it removes any old data stored on the players' storage.
  • Clear cookies - Clear any cookies saved on the device
  • Delete assets - Delete all assets downloaded to the device
  • Reload - Reboots the device itself.
  • Screen edges - In case you have a LED screen, video wall, or an older model TV you might have to adjust the edges so that they match your TV and the content.
  • Remove - Remove the device from your account

Options on the device itself;

  • Show top menu bar - Toggle this ON if you want the top bar to appear when moving the mouse or using the remote for your player. Toggle this OFF if you want a kiosk experience where users can't exit the app by clicking the exit button on the top menu bar. You can still access the menu with the "Ctrl + o" command.
  • Portrait mode (clockwise) - Rotates content 90 degrees clockwise
  • Portrait mode (counter-clockwise) - Rotates content 90 degrees counter-clockwise
  • Touchscreen - Toggle this ON if you are planning on using our APP on a touchscreen. This setting will make small adjustments to how our APP works in conjunction with a touchscreen.
  • Use built-in browser - Disable this setting to use the Android webView engine instead
  • Display Orientation - This option should only be used if your player operating system does not support changing the orientation as we recommend the adjustment on an operating system level instead.. You have the option of portrait (Clockwise) and portrait (Counter-clockwise).
  • Android settings - Advanced settings (Don't access this unless you know what you're doing)
  • Screen edges - In case you have a LED screen, video wall, or an older model TV you might have to adjust the edges so that they match your TV and the content.
  • Browser - Here you can easily access the browser used by the APP to check content, connectivity, etc.
  • Clear cache - In case you need to clear the cache manually you can do that here. For example, if you are changing your content continually and you experience something not working as expected, clearing the cache should help as it removes any old data stored on the players' storage.
  • Clear cookies - Clear any cookies saved on the device
  • Reset - Removed the screen from your account and reset the app
  • Screen Name - The name of the screen
  • Version - The version of our app
  • Status - Status tells you if the APP is connected to the cloud. Green means you are connected and red means you are not connected. If you see a red status you should check the internet and wifi connection to your player.
  • Device Time - The device time tells you the player's time and date. If the device time is wrong it will also be wrong in our APP and thus all time-related scheduling will be off, so make sure to correct the time on the player operating system if you are having problems.
  • Resolution - The resolution is the resolution according to your player's operating system. If the operating system on the players tells us it's running HD, your content on the TVs will be optimized for HD. Please note that many devices that are advertised as 4K can only decode video in 4K but run apps in a lower resolution. This means you may see a lower resolution reported by our app, but any 4K video that you use will be still played as 4K. If you are seeing a lower resolution, you can install a 3rd party "resolution checker" app on the device to confirm the resolution from another app as well.
  • Screen ID - Also referred to as UID. The UID is the unique ID for your player.
  • Disc Usage - Disc usage will tell you how much data has been used on the player's storage. We do not recommend more than max. 80% storage use.

I got my screen linked, what next?

We recommend checking out our Getting Started video.

Design your contentYoutube icon:icon features a black play button triangle inside a white rounded rectangle

Can Amazon Signage Stick run 4K content?

Yes, the Amazon Signage Stick runs 4K content, even in 3rd. party apps like the one you need to run Play Digital Signage.

My TV has a USB port, can I use that to power the Signage Stick?

We do not recommend using the USB ports on the TVs as they’re meant for data transfer and can’t supply as much power as the stick may need. This leads to the device operating in a lower performance mode and can lead to it crashing often.

My Signage Stick is set up for another signage provider, how do I switch to Play Digital Signage?

The standard procedure as described by Amazon is to hold the BACK and the RIGHT buttons simultaneously for about 10 sec. This will reset the Signage Stick to factory. Check the above guide on how to get started with the Signage Stick.

How do I access OPTIONS if I disabled the top menu bar?

In the APP options, you can hide the top menu bar if you for example are running a touch screen. To access the top menu bar, when hidden, you can use CTRL + O for options or CTRL + Q to close the APP.

Capterra at Play Digital SignageGetAPP at Play Digital Signagesoftware-advice at Play Digital Signage

Get started designing your content

Most people think designing content for digital signage is super difficult, but if you can use Powerpoint, you can also create and design your own content in our editor.

Play Digital Signage, Inc., 2035 Sunset Lake Road, Newark, DE, 19702, USA
We use cookies to ensure that we give you the best experience on our website.Learn more about Privacy Policies
Allow