-
Install the app
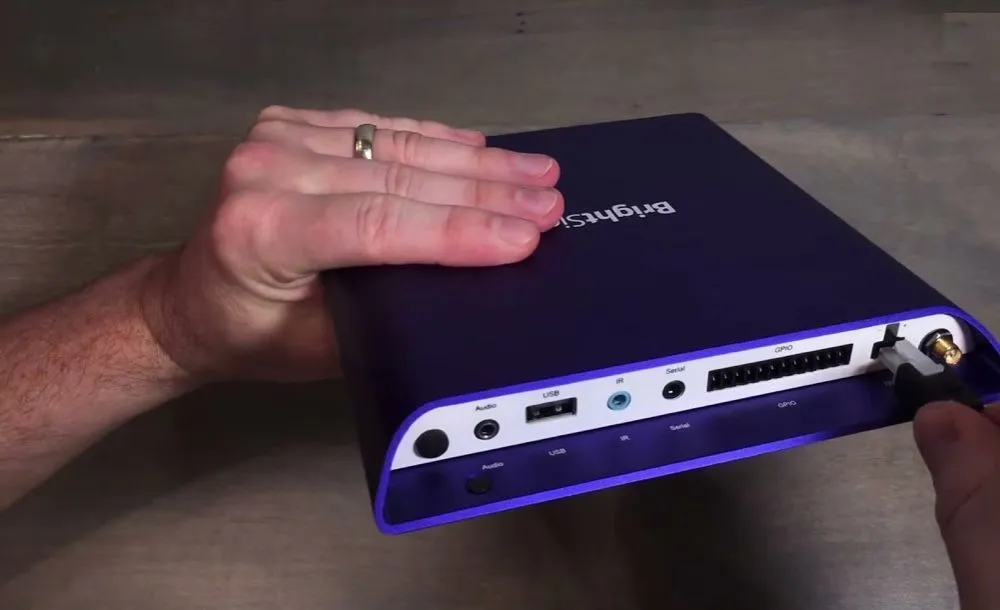
BrightSign devices use an SD card for storage.
Format your SD card in FAT32 or exFAT format -> Download our BrightSign application -> Unzip the folder -> Copy the contents of the unzipped folder to the SD card.
Options & FAQ
Options can be accessed directly on the TV by using OPTIONS.
Options
Options can be accessed directly by the player or in settings for your player.
- Launch player on startup - This option is always enabled for BrightSign.
- Optimize for touchscreen - Toggle this ON if you are planning on using our software on a touchscreen. This setting will make small adjustments to how our app works in conjunction with a touchscreen.
- Analytics - Toggle this ON if you need analytic data from this particular player. Read more about Analytics
- Automatic Updates - By default, the device will check for updates and update automatically. If you disable this option, you can check for updates manually by using the “check for updates” button.
- Synchronize Time - The player synchronizes its time with our server (using the configured time zone).
- Display Orientation - Landscape / Portrait / Portrait (counter-clockwise) options to configure your screen for portrait digital signage.
- Time Zone - Set the time zone of the device.
- Video Mode - Configure the output video mode for the device, see BrightSign documentation for this option.
- Reload player every day at - It is good practice to clear the cache on the player once every 24 hours. Here you can set a convenient time, for example at night when no one is watching your TV.
- Display on / off – Turn the display on and off based on a schedule. (Read how to schedule the display)
- Tags - If you are using tags, they are listed here. You can also find and add a tag.
- Reboot - Reboots the device.
- Transfer Screen - Move screens between teams without deleting or relinking them. Learn more about Transfer Screen
- Status - Status tells you if the app is connected to the cloud. Green means you are connected, and red means you are not connected. If you see a red status, you should check the internet and wifi connection to your player.
- Device Time - The device time tells you the player’s time and date. If the device time is wrong, it will also be wrong in our app and thus all time-related scheduling will be off, so make sure to correct the time on the player operating system if you are having problems.
- Resolution - The output resolution of the device.
- Version - This is the version of our app.
- Screen ID - Also called UID: the unique ID of your player.
- Disc Usage - Disc usage will tell you how much data has been used on the player’s storage. We recommend using no more than 80% of the storage.
- Screen edges - If you have an LED screen, a video wall or an older TV, you might have to adjust the edges so that they match your TV and the content.
FAQ
I got my screen linked, what next?
We recommend checking out our Getting Started video.
My device says it’s offline
If the device is offline, it means the device is not connected to the internet and therefore cannot connect to our digital signage cloud. See our Offline guide.
How do I configure network?
By default, the device uses a wired connection and gets its IP address from the DHCP server. You can configure the device to use a static IP or connect to a wireless network. On the SD card, you will find a file called network.example.json. Rename it to network.json and replace the example values with your desired configuration.