Menu Boards and Video Walls
Blogpost was published on February 10, 2020
Before I begin digging into what, why, and how, let’s look at the two main headlines — Menu boards and video walls. Menu boards and Video walls are in many ways the same thing, it include more than one screen and the main purpose for them both is creating an area of screens to make something more visible — Let’s face it, size matters.
Throughout this article I will be digging into Use Cases, what’s on the market, hardware- and software-based solutions, small budgets, and more professional solutions, schematics, how to make it work with Play, and what you should expect in running cost and maintenance.
Feel free to jump directly to the stuff you’re interested in.
If you already have your setup figured out and simply want more information on how to set up Play for a Menu Board or a Video Wall you should go here: Video Wall

Use-cases
I will be looking into two different use cases, one for menu boards and one for larger video walls. The first one we’re looking at is menu boards.
The main purpose of a menu board is to create a larger screen area to better display products and great offers to customers. A great example of this is Starbucks (One of my favorite coffee shops) which has divided most of its screen into multiple sections — 3 screens in a row displaying a list of all products plus new stuff like their Blonde Espresso. They are amazing at creating great content that makes more sales.
Menu boards like these are simple and not that expensive.
If we’re looking at more than one row it looks more like a video wall, or at least what we all know as a video wall — The difference is not that noticeable — it’s just more screens.
Video walls can be 2x2 and scale to more or less what you want, they can be square, rectangular, or artistic shaped. Also, it’s common in video walls to have areas or what you might know as picture-in-picture.
One use case could be a showroom at a car dealer. A big video wall displaying an inspirational video of their latest model provides customers with an awesome experience. These screens are usually viewed from very close so they often include very high-quality low bezel screens and 4K resolution.
It doesn’t matter how small or how big or whether or not you need one or multiple feeds into the screen, it’s just a question of imagination and choosing the right hardware to make it work.
General overview
You are going to need screens, a controller, a player, and the software to run your content.
You’ll find tons of screens, but pay attention to specs and make sure you keep the “experience” in mind. The reason I mention experience is that every solution is it’s own — If you have an audience watching from a short distance the experience gets ruined if you pick screens with a large bezel. If the screen is far away, and perhaps up in the air, you don’t want a 2x2 based on 55" screens.
So how do you make sure you get this right the first time? There is only one way to make sure — find someone who does this for a living and trust their opinion.
Other things to consider when getting screens are NITS (The brightness of the screens), resolution, and durability (If your screens are running 24/7 you should choose a screen build for that). There are several other things, but these are the most obvious ones.
Pay attention to
Size of your screen
How many screens
The total area
The bezel size of the screens
The light output (NITS) also knows as brightness
Screen run-time
The most complicated part is the controller for the screens (Video Wall controller, processor, multi-monitor controller, etc.). They are in the form of a box or a PCIe card.
A controller is a unit with one or more inputs and multiple outputs to screens and usually, they are accompanied by controller software to set up your in- and outputs. This part of the solution is described in more detail below.
For more advanced and customized solutions you should be looking at PCIe cards. A PCIe card can be used with any computer supporting PCIe and supports 4 x HDMI, 6 x display port, and older models even DVI and VGA.
Pay attention to
How many inputs
How many outputs
Resolution (Input and Output)
You are also going to need a player or should we stick to the term input, cause that’s what a player is — It’s the bridge between your content in the cloud and the screen no matter if you have a controller or not. The player’s job is to render the content you need on your screens. For more information on what player you need, you should read our article on how to choose a player.
Last but not least, and this is where Play can help you, you will need digital signage software to manage your content and to tell the player what to put on the screens. I will assume you already know all you need to know about this subject, but there will be a few words on the subject further down.
What you need to get
To build a menu board or a video wall you’ll need
- Screens
- Controller
- Software
- Mounts
Screens
There are lots of manufacturers out there. I don’t have an opinion on what brands you should go with or shouldn’t go with, you need to pick one based on features, budget, etc.
Screen size can be important for you, depending on the placement of the screens, you don’t want the full area of the screens to seem small. So three 55-inch screens in-line might work great in a coffee shop, but for a video wall, it might make more sense to go with several 46-inches. It all depends on where your screens are compared to your viewers.
Screen resolution defines how many pixels you have on your screens. Running Full HD might be okay, but by choosing a 4K screen you’ll have a way more crisp image. If you’re going for 4K resolution you need to make sure the controller and the player also support 4K.
The screen aspect ratio is the width compared to the height where most screens are 16:9 you also find 4:3 and 16:10 when you move into professional screens. Again this is related to your project.
Screen brightness is listed in NITS or LUMENS and defines how bright your screens are. If your screens are placed indoors you should be fine going for 500–700 nits, but if you move your screens into an area that is well lit you might have to go higher than 700 nits. If your screens are going outside and in sunlight, you should look at +2000 nits.
Screen bezel thickness tells you how thick the edges around your screens are. This might not be important if you have a menu board, but if you’re building a video wall you should consider a low bezel.
Screen features might have an impact on your solution. Normally not very important, but with screens nowadays offering onboard controllers this is something you need to consider. There is no doubt that the simplest way to go about this is by getting screens with onboard controllers, but they are expensive.
Screen run-time is based on how many hours the manufacturer has certified the screen can run uninterrupted. Some screens are manufactured for 20/7, others for 24/7, and so forth. Unless you’re running 24/7 content on your screens this is not very important.
These are the most significant things to consider, but depending on the location, purpose, content, audience, etc. there are several other parameters that might be important for you.
Controller
Hardware-based Controller
For decades we have been building video walls using hardware-based controllers, but nowadays you have a choice between hardware-based and software-based controllers.
The hardware-based solution is, in most cases, straightforward. The controller has inputs and outputs and can manage more or less unlimited screens. The inputs and outputs are either HDMI, DisplayPort, or Mini HDMI (Older models also support DVI, VGA, etc.).
The controller’s job is to distribute one or more feeds to all connected screens. A simple example would be one input or feed from a digital signage player and an output on multiple screens.
As I wrote earlier, you can choose a box or a PCIe card for your project. The box unit is very simple and it’s a straight-up stand-alone solution. The PCIe card solution can offer some advantages, the card is installed directly on a computer or server using PCIe slots — This means you can both have your player, your controller, and your controller software on one dedicated PC or server. Cards are cheaper and you can easily scale your video wall by installing multiple cards.
Also, keep in mind that if you go with a box most times you will need a Windows computer to set up the controller and load the configuration onto the controller.
One other thing to keep in mind is distance — Let’s say your video wall or menu board is located in the store and you need the controller in the backroom (Reasons could be noise, space, network, etc.) — HDMI might not be the most efficient way to get your signal from A to B (The longer the distance the worse), so you might need to encode it, throw it into your network and then decode it again on the other end, these units are known as HDMI extender over IP.
Software-based Controller
The software-based solutions are clever and in some cases very useful, but if you are simply looking to create a video wall or a menu wall with 2x2, 3x3, etc. screens I would strongly advise you work with hardware-based controllers.
The software-based solutions have added value when central management is important to you.
It works a lot like Digital Signage, you sign up, and order your boxes (Those are your link between the screen and the cloud) and when you get the boxes and have them connected to your Internet and screens, you can set up how your screens work together as one. With these solutions, you can easily manage all screens, feeds, etc. from a centralized login.
Onboard Controller
The third solution is based on screens with built-in controllers or Daisy Chaining. Most larger manufacturers like LG, Sony, and Samsung offer screens designed specifically for menu boards and video walls.
Read more about Samsung’s SMART Signage series.
You won’t need a controller or a PC connected, all is done on the screens and all the screens are linked together through either HDMI or DisplayPort. And from what I’ve seen and worked with, the controller is amazing. In addition, Samsung offers a whole line of different screens with high brightness, low bezel, etc. So it’s more or less up to you how much you want to pay.
Software
I will be assuming you are going to be using Play software, cause I have very little knowledge of other digital signage software and their compatibility with menu boards and video walls.
What you need is software that scales to any resolution and size of a screen. So let’s say you are putting together a video wall of six screens in Full HD (2x3) your software has to be able to output 5760 x 2160 equal to an aspect ratio of 8:3.
Mounts
It might be a simple thing, but believe me, working with cheap or badly constructed mounts for menu boards and video walls is not fun.
If you look in the cheap end you will find mounts that work, but they are a hassle to align and you can easily spend hours adjusting and yelling at them. I tend to pick something on the other end, intelligent and yes also a bit more expensive. For a smaller project, I would go with the Samsung Video Wall mount (https://displaysolutions.samsung.com), and for larger projects usually a swing door grid mount.
On a budget
Let me start by saying — there is a huge price difference between non-4K and 4K — Keep this in mind and before even looking into what you should get, make a choice.
Matrox has been a leader for years and lately, they have launched several solutions that both keep the price low and offer you all that you need to do smaller menu boards and video walls. The products you could look for are the Matrox DualHead2Go, TripleHead2Go, and QuadHead2Go — I have not been able to find pricing on the Quad model, but the others range from $140 to $300 per unit. The units are simple to work with and they do the job! The dual can do 1x2, triple 1x3, and the quad 2x2 or 1x4 configurations. (row x column). Besides the units themselves, you don’t need anything else but the screens and some HDMI cables.
Besides Matrox you’ll be able to find several manufacturers who have great products, just make sure to look into specs and reviews before making the investment.
A typical installation of a 3-screen menu board can be made for as low as $700 if you do it yourself and that’s including three 42-inch screens.
Now doing the same estimates for video walls is almost impossible — There are so many factors like hardware, software, screen brightness, bezel thickness, etc. But I will do a simple example based on Samsung UH46F5 (https://displaysolutions.samsung.com/) with 500 nits brightness, 5.5 mm bezel, and build-in video-wall controller, the total price with video-wall mounts is $7600.
How to set play for a video wall
Setting up Play for a menu board or a video wall is very simple and easy. All you have to do is set up a custom playlist with a resolution that is identical to the area of all your screens put together.
If you have 3 full-HD screens in a row y(1x3) you have 3 screens with a width of 5760 and a height of 1080. In a video wall, you might have 3 rows and 3 columns which equals 5760 in width and 3240 in height. You get the picture.
Go to Playlists and hit Create Playlist, then open Advanced and input your resolution instead of the 16:9 aspect ratio. When done hit Create.
If you click on your newly created playlist you’ll see that you have a canvas that looks just like the full area of your screens. Now update your content and publish it to your player.
For more information on creating custom playlists and zones please go to Working with zones
How it’s charged
I question we get often is “If I have 6 screens in a video wall, do I pay for 6 screens?” And it’s simple, We charge by linked screens, and in cases like this, there is only one screen linked. So in reality, it does not matter how many physical screens you have on your video wall if you have one linked screen you pay only for that one linked screen.
Featured Blog Posts
Start with our latest and most-read blog posts.
If you’re using Samsung Banner CMS for your LED signs, you’ve likely heard the news: Samsung is shutting down the service. Many users are now looking for a stable, affordable, and future-proof alt...
Learn More >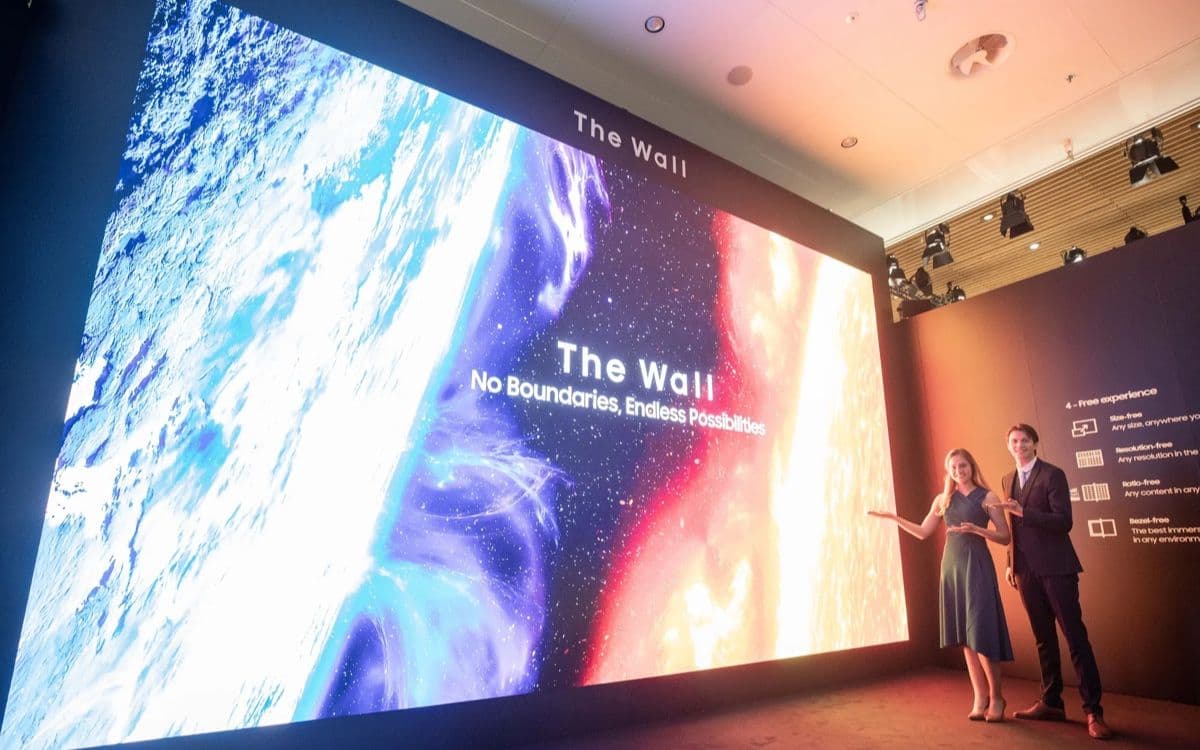
Red Metal Motors: Igniting Scholarships with Custom Classic Thrills
Okay, picture a shiny red truck rumbling through a parade, with Swoop the mascot waving from the back, drawing smiles and waves f...
Learn More >
Why We Built Our Community (and Why You’ll Love It Too)
At Play Digital Signage, we believe that powerful software isn’t just about slick visuals or cutting-edge features. It’s about connection – ...
Learn More >


Need more information about digital signage?
If you haven’t found what you were looking for here, we still have lots to show you! Check out sample digital signage solutions by industry to see how digital signage fits into your business, case studies from those who have come before you to see how they have taken advantage of digital signage, or reach out to us using the live chat below with any questions you might have!